
How to Edit Text in a Screenshot Without Recapturing It
Quick answer: Here’s how to edit text in a screenshot in three steps with Retypit: 1. Upload your screenshot—Retypit detects every line. 2. Click the line you want to change and retype it, then click Run. 3. Download—the new words keep the same font, color and style. Status bar, chrome and layout stay put. No recapture, no Figma rebuild, and you do not need the font name.
JPG, PNG or WebP · Max 20MB
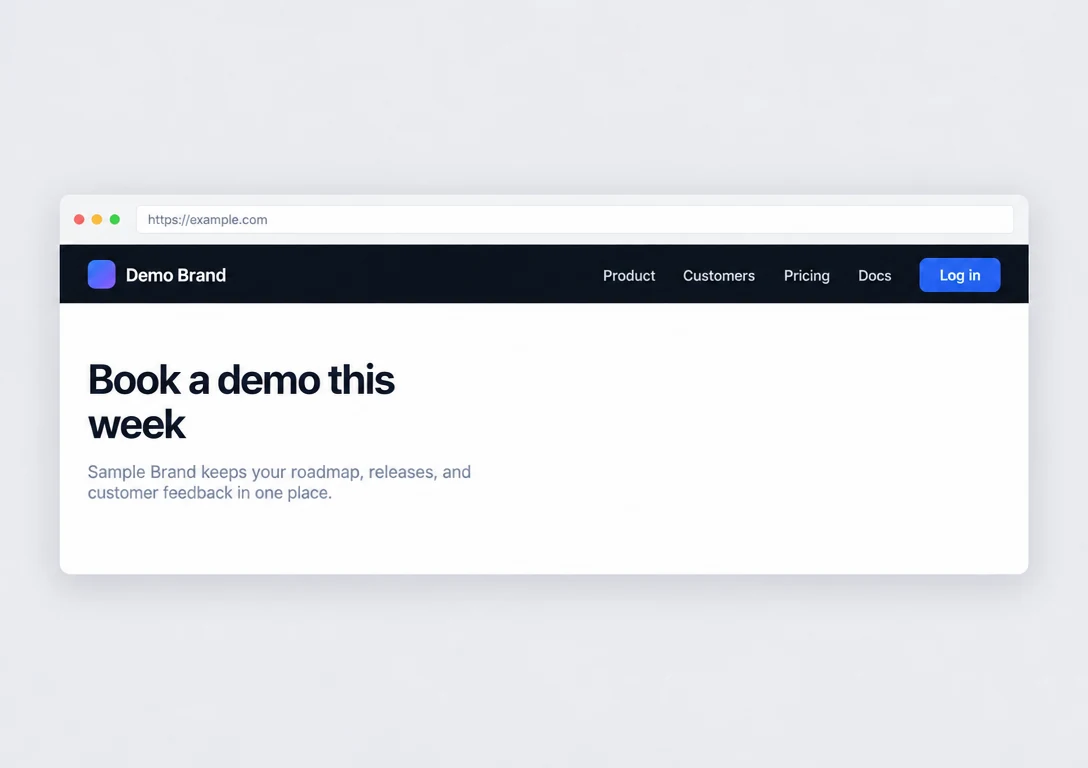
How to edit text in a screenshot (3 steps)
Editing text in a screenshot means rewriting words that are already pixels in the capture—nav labels, buttons, dialogs, captions—without taking the screen again or rebuilding the UI. Retypit does that online in the browser on a flat JPG, PNG or WebP.
Upload Your Screenshot.
Open Retypit and drop in a JPG, PNG or WebP up to 20MB. Retypit analyzes the image and numbers every line of text it finds.
Click the Text and Retype It.
Select the numbered line (or several lines), type the new wording, and click Run.
Download the Result.
Open your history and download. The new words keep the original font, color and style. The download keeps the original resolution, with no watermark.
Only the lines you select change. Status bar, window chrome, icons, backgrounds and layout stay where they were.
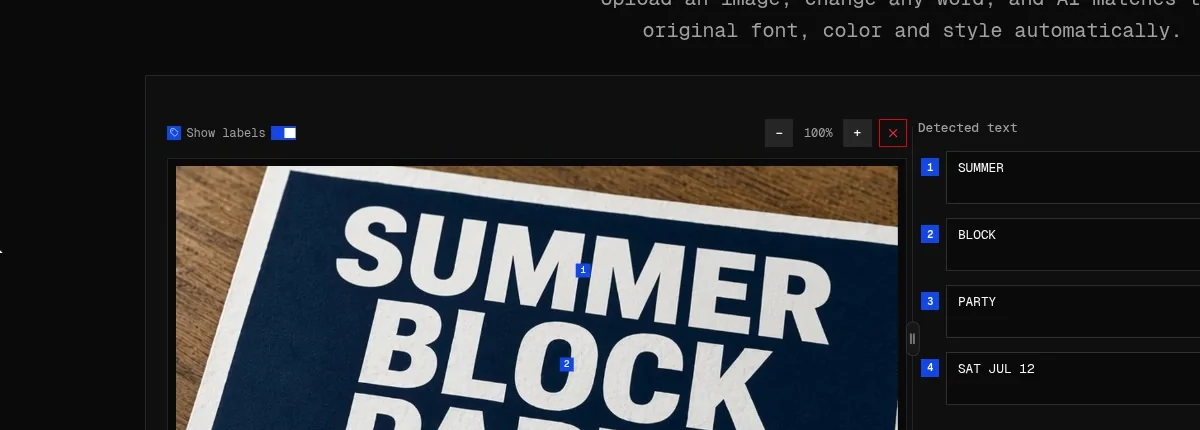
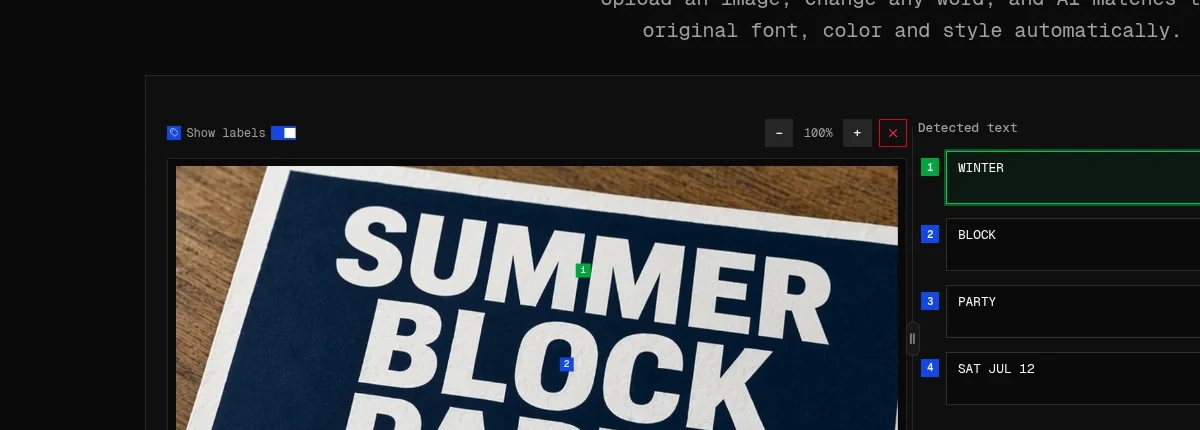
Change existing text—don’t paste a new overlay
Most “add text” tools drop a fresh font on top of the picture. On a screenshot that looks like a sticker over the UI: wrong weight, flat color, missing anti-aliasing and shadow.
When you edit text in a screenshot with Retypit, you are not layering type. You rewrite the line that is already there. On Run, Retypit uses the original lettering as the reference and rebuilds your new words to match—font, color, texture, shadow and perspective included. You do not hunt for a font file, open Figma, or recapture the app.
That is why it works on flat screenshots such as:
- App and website UI mockups (nav, tabs, buttons, empty states)
- Marketing and App Store UI shots (feature callouts, CTAs, badge labels)
- Docs and help-center captures (headings, callouts, step labels)
- Chat and messaging UI (bubble labels, timestamps, menu items—not private or sensitive chats)
- Dashboard and settings panels (section titles, toggles, list rows)
A screenshot is a flat image: the text is pixels, not a live text layer. That is why Preview, Photos or a simple markup tool cannot rewrite the label the way the original UI did. Retypit edits those pixels in place.
For a general walkthrough (posters, photos, menus—not only screenshots), see how to change text in an image . For matching style in more depth, see how to edit text in an image and keep the same font .
Common ways people edit text in a screenshot
Fix a nav label, button or dialog
You already have the capture. Only one string is wrong or outdated. Upload the screenshot, select that line, type the new label, and run. Typical swaps: Settings → Preferences, Sign in → Log in, a dialog title or primary button.
Update App Store or marketing UI shots
Refresh a feature name, price callout or CTA on a product screenshot without rebuilding the mock in design tools. Keep the same chrome, device frame and layout.
Correct a typo in a docs or help capture
Misspellings in a help-center screenshot, onboarding tip or empty-state line are common. Select the bad line, type the correct spelling, and run. You do not recapture the product.
Localize a label for a demo
Swap one English string for another language (or a shorter synonym) on a UI shot for a deck or landing page, while status bar and surrounding controls stay put. Keep length close so the bar or button still looks natural.
Tips for a natural-looking edit
- Keep a similar length. Close character counts fit the original nav bar, button or chip better.
- Match the case. If the UI is Title Case or ALL CAPS, type the replacement the same way.
- Change one busy line at a time. On dense panels, run the title and a button separately so you can check each result.
- Prefer PNG for sharp UI. Screenshots with crisp letters match style better than heavily compressed JPG.
- Use the sharpest file you have. More pixels per letter give a closer match to the original system or brand font look.
- Re-run if needed. Results can vary; try the same edit again before changing your wording.
- Batch when you can. You can process text in several screenshots in parallel: start one run, then upload the next while it works.
Edit text vs remove text
- Edit / change / replace: you want new words in the same place and look on the screenshot. Use the homepage editor: upload → retype → Run → download.
- Remove only: you want the words gone and the background filled. Use Text Remover .
Need letter SVGs in that font style for design tools? Use Image to Font —upload a style image, type your text, get letter SVGs (not a font ID or .ttf).
PNG, JPG and WebP screenshots
Finished screenshots are flat: the text is pixels, not a live text layer. Retypit edits the flat file directly in the browser.
- PNG — preferred for sharp UI text, nav bars and system fonts.
- JPG / JPEG — fine for compressed captures; prefer a less-compressed original when letters are small.
- WebP — screenshots saved from the web.
Limit: 20MB per image. Works in desktop and mobile browsers (Safari or Chrome). No app to install.
FAQ
How do I edit text in a screenshot?
Upload the screenshot to Retypit, select the numbered line you want to change, retype it, click Run, and download. The new words keep the same font, color and style.
Can I edit text in a screenshot without recapturing it?
Yes. You work on the flat image you already have. No need to reopen the app, rebuild in Figma, or take the screen again.
Will the status bar and UI chrome stay the same?
Retypit is built to change only the lines you select. Status bar, window chrome, icons and layout are meant to stay; always check the preview before you download.
How is editing screenshot text different from adding text?
Adding text usually pastes a new font on top. Editing text rewrites a line that is already in the screenshot so the result still matches the original UI look.
Can I keep the same font as the original UI?
Yes. On Run, Retypit references the original lettering and rebuilds your new words to match. You do not need the font name or a design file.
Is this an online screenshot text editor?
Yes. Retypit runs in the browser: upload a screenshot, edit the line, and download. No desktop install and no Photoshop.
Can I change several lines at once?
Yes. Select multiple numbered lines, retype each one, and click Run once.
What file types are supported?
JPG, PNG and WebP, up to 20MB. Downloads keep the original resolution and have no watermark. PNG is best for sharp UI screenshots.
Edit text in a screenshot in a few clicks
Upload a screenshotJPG, PNG or WebP · Max 20MB